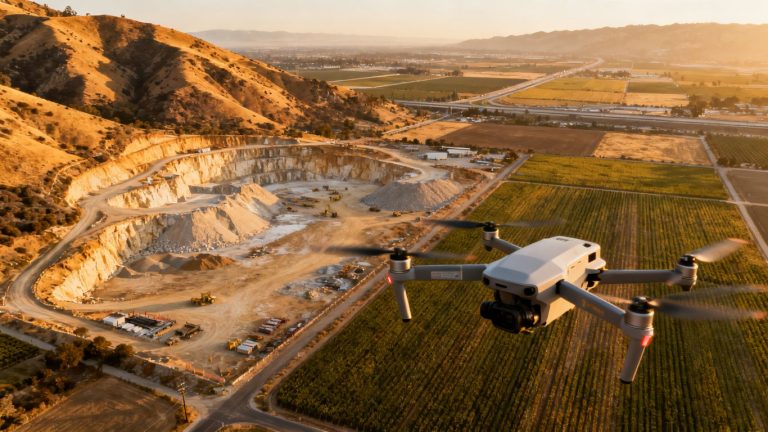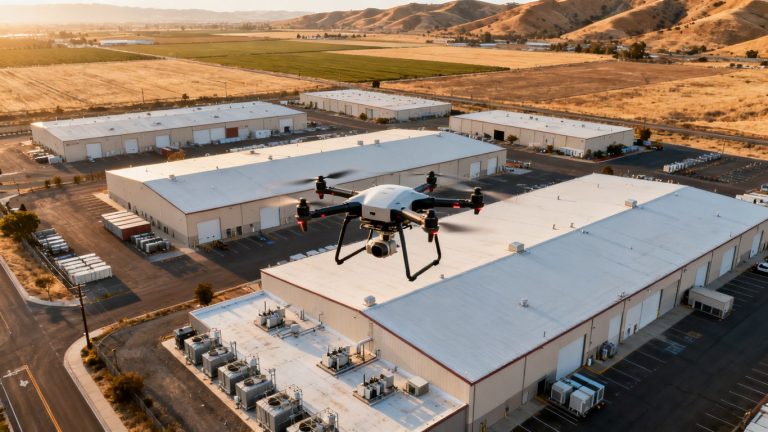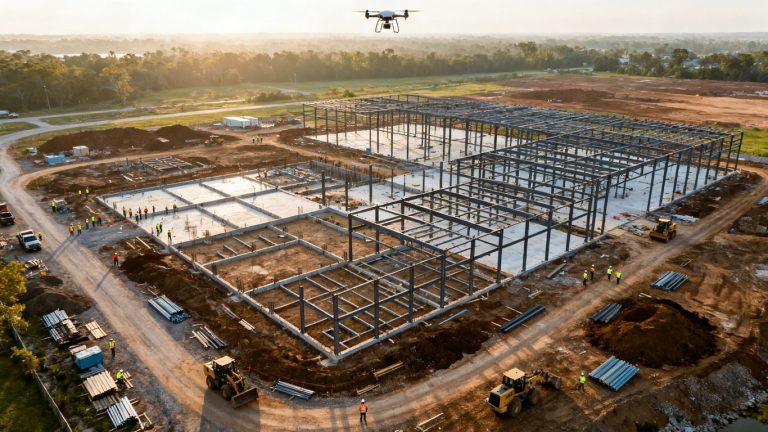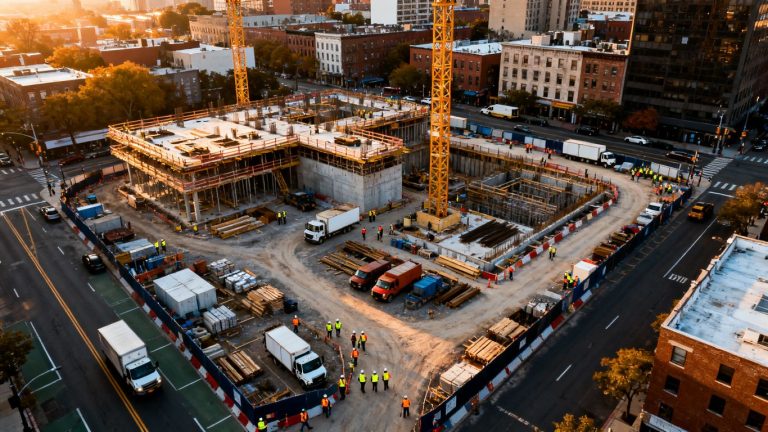
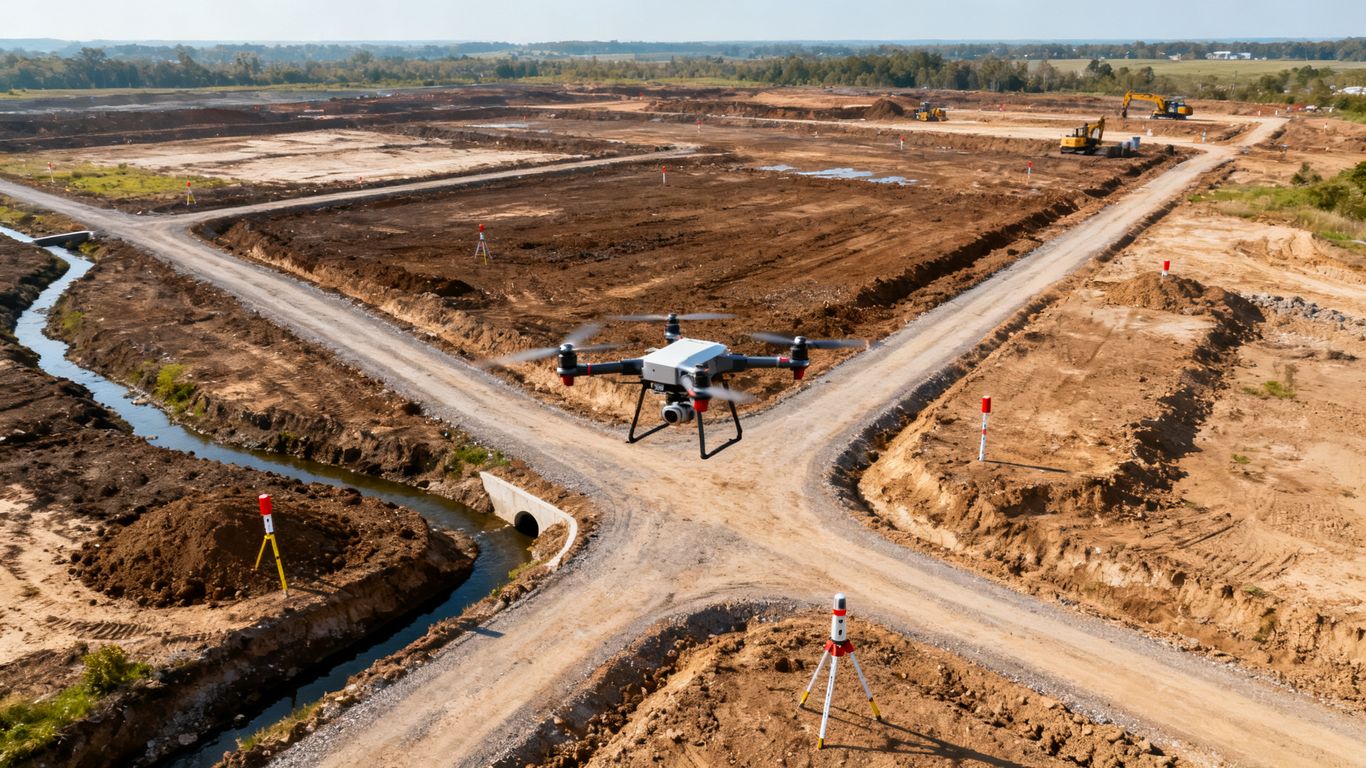
Preconstruction site analysis with drone imagery
Key Takeaways
A thoughtful preconstruction site analysis with drone imagery turns a one-time flight into useful project evidence. The value comes from connecting accurate capture, careful interpretation, and repeatable decisions.
- Define the project questions before planning the flight.
- Match the drone, camera, coverage, and control points to the required accuracy.
- Process imagery into maps, models, and elevation information that teams can use.
- Compare visible site conditions with drawings, surveys, and access assumptions.
- Preserve the data carefully and communicate its limitations clearly.
Define the goals of your preconstruction site analysis
Preconstruction analysis is most useful when it begins with a decision, not with a camera. The team should know what it needs to confirm about the site, what may affect cost or schedule, and who will use the resulting information. A flight can produce impressive visuals without answering any of those questions. Set the intended use first, then design the collection and processing around it.
Align imagery with project decisions
Start by listing the decisions that could change before mobilization. These might include haul-road placement, staging areas, drainage concepts, temporary access, demolition limits, or the order of earthwork. The imagery should make those questions easier to answer rather than simply add another file to the project folder.
Aerial data is strongest when it is measurable and easy to compare with other project information. A useful drone mapping guide can help teams think through the difference between an attractive aerial photograph and a mapped, georeferenced site record. The distinction matters when an owner or estimator needs to examine a location rather than view a general impression.
Identify the site conditions that matter most
Walk the site, review available drawings, and ask experienced field staff what is easy to miss from the ground. Low areas, informal tracks, stockpiles, retaining features, exposed utilities, wet ground, and neighboring activity may all affect planning. The objective is not to document everything equally; it is to make the risks and constraints visible early.
Create a short question list for the flight crew and design team. For example, ask where trucks can turn, whether a proposed laydown area is actually accessible, and whether the apparent drainage pattern agrees with the civil plan. This keeps interpretation tied to constructability instead of allowing the model to become an isolated technical deliverable.
Establish accuracy, resolution, and coverage requirements
Accuracy should be specified in relation to the decision being made. A broad visual overview may be enough for early logistics, while grading, quantities, or design verification may require stronger control and a defined survey tolerance. Ground sampling distance, image overlap, control points, terrain variation, and processing settings all influence the result.
Also define the boundary of coverage. Include areas that may influence the work, such as entrances, adjacent slopes, drainage outlets, and utility corridors, while respecting property and airspace restrictions. Clear requirements prevent rework because the operator can identify missing information before leaving the site.
Set baseline documentation for future comparisons
A baseline should capture the condition of the site before construction changes it. Record the date, time, weather, equipment, flight parameters, coordinate reference system, and processing method along with the imagery. Those details make later comparisons more defensible and help a new team understand how the record was created.
Baseline documentation can also include selected oblique photographs and ground notes. A consistent viewpoint is valuable when the project later needs to explain a pre-existing crack, rut, stockpile, boundary condition, or neighboring feature. The purpose is not to predict a dispute, but to preserve a shared starting point.
Plan a reliable drone data-collection mission
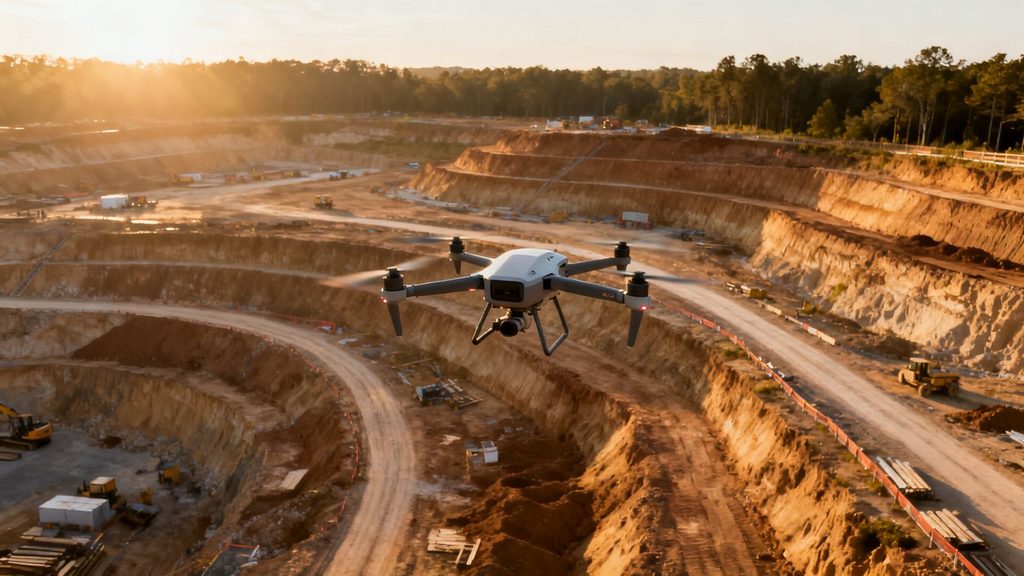
Good capture is planned as a field operation, not improvised at the gate. The operator needs enough information about the site, the proposed deliverables, and the people working nearby to make a safe and repeatable plan. A practical drone mapping service workflow typically begins with scope, site review, and output requirements rather than with equipment alone.
Choose the right drone and camera setup
Select the aircraft and sensor according to the area, terrain, lighting, and required outputs. A camera that produces consistent, sharp images is usually more valuable than a feature that does not affect the project decision. Consider flight endurance, obstacle awareness, positioning capability, lens characteristics, storage, and the ability to maintain suitable image overlap.
Large or irregular sites may need more than one flight plan or battery cycle. If the work includes detailed structures, steep ground, or narrow corridors, discuss those conditions before capture. The setup should also be practical for the operator to transport, check, and use safely in the available access window.
Account for terrain, weather, and site access
Terrain changes the relationship between the aircraft and the ground. A constant elevation above takeoff point may create inconsistent resolution across a sloped site, while trees, cut faces, and buildings can hide important surfaces. Weather affects wind, shadows, visibility, and the quality of the resulting images, so a plan should include thresholds for postponement.
Access planning matters just as much. Identify launch and recovery areas, locked gates, active equipment, overhead lines, nearby roads, and people who need to be notified. A short site visit before the flight can prevent a long delay when the planned launch point turns out to be unusable.
Design flight paths and ground control points
Flight lines should provide sufficient overlap and cover the complete area of interest, including the edges needed for reliable processing. Ground control points or check points can strengthen the relationship between the model and the site coordinate system, particularly where measurements or comparisons are important. Markers must be visible, stable, and documented in the field.
The flight plan should also identify what happens if an area is blocked or an image sequence fails. A simple recovery plan is better than discovering a gap after the crew has left. When terrain or structures create blind spots, consider additional angles or a separate flight rather than assuming the first pass captured everything.
Coordinate permits, airspace, and stakeholder safety
Confirm the applicable aviation requirements, local restrictions, property permissions, and operator qualifications before the mission. The plan should identify who has authority to pause the flight and how nearby workers, visitors, vehicles, and residents will be kept clear. Communication is especially important on active sites where conditions change quickly.
Keep a written record of approvals, notifications, weather, pilot checks, and incidents. This supports project governance and gives the team context when it reviews the data later. Safety is not a separate administrative layer; it shapes when, where, and how useful imagery can be collected.
Capture and process actionable site data
Processing turns overlapping photographs into information that people can inspect, measure, and discuss. The output should be chosen for the decision it supports, then checked before it is circulated. A beautiful model with an uncertain coordinate system can create more confusion than a modest but well-documented dataset.
Produce orthomosaic maps and 3D models
An orthomosaic combines corrected aerial images into a map-like view, while a 3D model provides a navigable representation of surfaces and features. Both can help the team understand the relationship between existing conditions and proposed work. The usefulness depends on image quality, overlap, ground visibility, and processing choices, not merely on the file type.
Review the edges, steep areas, vegetation, and structures rather than accepting the first export. Artifacts can appear where surfaces move, repeat, reflect, or disappear between images. Keep the original photographs available so a reviewer can trace an unusual result back to its source.
Generate elevation maps and terrain contours
Elevation products can make slopes, low points, benches, and broad drainage patterns easier to discuss. Contours and shaded relief are particularly helpful during early grading conversations, but they should be read alongside site observations and available survey information. A surface model may include vegetation or structures where a bare-earth interpretation is needed, so the distinction must be explicit.
Choose contour intervals that suit the scale and purpose of the review. Dense lines can imply precision that the data does not support, while widely spaced lines may hide a useful change in grade. The processing report and coordinate information should travel with the map.
Verify image quality and survey accuracy
Quality control should test both visual completeness and positional reliability. Inspect image sharpness, overlap, exposure, control-point residuals, model gaps, edge distortion, and the consistency of recognizable features. Where the work supports quantities or design decisions, compare independent check points rather than relying only on the processing software’s internal indicators.
A short verification record makes review more efficient. It should state what was checked, which areas were excluded, and whether the output meets the project’s stated tolerance. If the result is adequate for planning but not for final staking, say so plainly.
Organize files, metadata, and version control
A predictable file structure prevents teams from using an outdated surface or an export with the wrong coordinate system. Preserve raw imagery, processed outputs, control data, reports, field notes, and approval records. Use meaningful names that identify the site, date, area, product, and revision.
The processing package should include enough metadata for another qualified person to reproduce or understand the work. This is where a simple table can clarify which output belongs to which decision and review stage.
| Deliverable | Useful planning question | Review detail |
| Orthomosaic | What is present across the site? | Date, coverage, coordinate system |
| 3D model | How do features relate spatially? | Surface gaps and viewing limits |
| Elevation product | Where do grade changes occur? | Surface type and contour interval |
| Control report | How reliable is the position? | Check points and stated tolerance |
After the table is reviewed, assign an owner for each deliverable and record the approved revision. That small step keeps a useful dataset from becoming a collection of disconnected exports.
Use drone imagery to evaluate site conditions
Interpretation is where capture becomes preconstruction judgment. The team should compare what the imagery shows with plans, field observations, title information, and known site history. Aerial evidence can reveal patterns that are difficult to see from the ground, but it still needs context and qualified review.
Analyze grading, drainage, and earthwork requirements
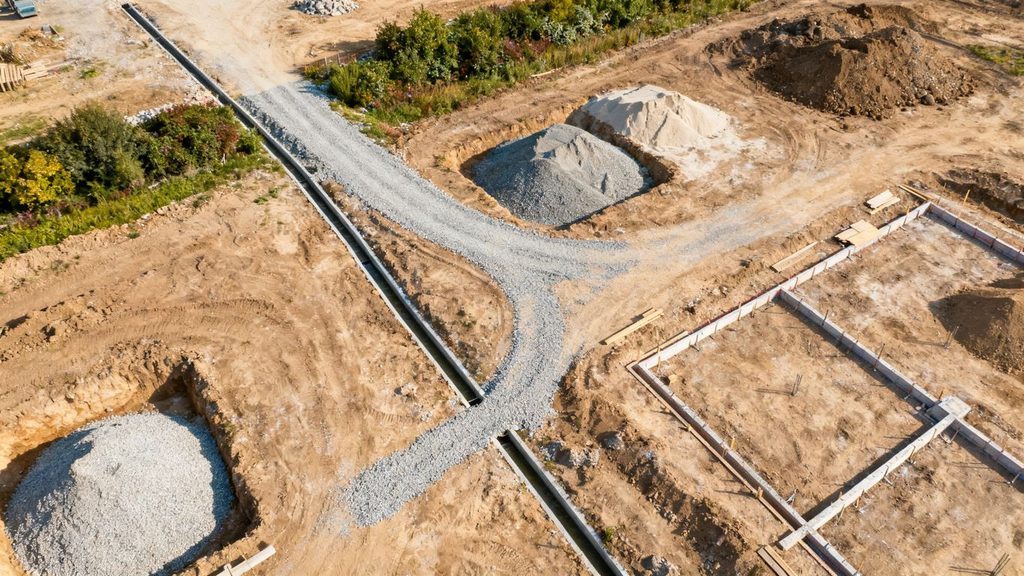
Review slopes, low areas, exposed cuts, fill zones, stockpiles, and visible flow paths together rather than separately. The imagery can help the team ask whether proposed grades appear practical and whether temporary drainage or erosion controls may be needed. It can also expose a mismatch between assumed and observed ground conditions before those assumptions enter a bid.
Use the elevation data to identify areas that deserve a field check. Vegetation, debris, standing water, and shadows can obscure the ground, so a visual pattern is a prompt for investigation rather than automatic proof of a subsurface condition.
Locate access constraints and existing infrastructure
Trace entrances, turning areas, haul routes, fences, gates, overhead lines, culverts, and visible utility features. Consider how deliveries and emergency access will work once cranes, trailers, fencing, and temporary facilities occupy the site. An aerial view often makes circulation conflicts easier to discuss with people who are not present every day.
Mark uncertain features separately from confirmed ones. Surface evidence may suggest an infrastructure route without revealing its depth, ownership, or condition. The right next step may be a records review, utility locate, or targeted survey rather than a stronger claim from the imagery.
Document vegetation, boundaries, and nearby hazards
Record trees, brush, water, unstable slopes, neighboring structures, public paths, and other conditions that can affect clearing, protection, access, or safety planning. Include the surrounding context when it influences the site, but keep the project boundary clear in the deliverable. Date-stamped images can support conversations about what existed before work began.
A useful review groups observations by action: protect, remove, investigate, monitor, or exclude. That turns a visual inventory into a manageable preconstruction register. Ground photographs and notes can add detail where the overhead view cannot show the relevant face or condition.
Compare visible conditions with plans and surveys
Overlay the imagery or model with the latest civil drawings and survey information, then look for disagreements in alignment, grade, boundaries, and existing features. Differences may result from a changed site, a stale drawing, a coordinate mismatch, or a limitation in the aerial dataset. Each discrepancy should be assigned for resolution rather than quietly averaged into a new assumption.
Keep the comparison dated and identify the plan revision used. This allows designers, estimators, and field staff to discuss the same evidence. It also supports a broader preconstruction documentation approach when the project needs a clear record of existing conditions.
Apply findings to design and preconstruction planning
The analysis becomes valuable when it changes a drawing, quantity, sequence, or question before construction begins. Bring estimators, designers, field leaders, and owners into the review early enough to act on what they see. The goal is not to make every decision from the drone dataset; it is to reduce avoidable uncertainty.
Improve site layout and constructability decisions
Use the mapped site to test staging, temporary facilities, truck circulation, crane access, material storage, and worker routes. A layout that looks workable on a plan may fail when it meets a slope, a narrow entrance, or a neighboring constraint. Reviewing the aerial context helps the team spot these collisions while alternatives are still inexpensive.
Document the assumption behind each proposed arrangement. If a laydown area depends on a future clearing operation or a route depends on temporary drainage, show that dependency in the logistics discussion. Clear assumptions make later changes easier to explain.
Estimate cut-and-fill volumes more confidently
A processed surface can support preliminary volume calculations for soil, aggregate, or stockpiles when its boundary, surface type, and reference elevation are understood. Define the limits of the calculation and state whether the result is based on existing ground, a design surface, or a comparison between dates. Do not let a precise-looking number hide an uncertain premise.
For larger quantities, independent checks and survey validation may be appropriate. The value of the aerial estimate is often greatest during option comparison, when it helps the team see which grading concept deserves deeper analysis before final measurement.
Support utility coordination and conflict detection
Use the imagery to place visible utility markers, structures, drainage features, and access points in the same spatial conversation as proposed work. It can help identify areas where a design review or field investigation is needed. It cannot reveal every buried line or establish ownership by itself.
Coordinate the review with the responsible utility and design teams. A simple issue register should identify the location, evidence, likely impact, responsible party, and next action. That structure keeps a visual observation from disappearing into meeting notes.
Strengthen bids, schedules, and subcontractor planning
Estimators can use the site record to test productivity assumptions, access windows, temporary works, clearing quantities, and delivery constraints. Subcontractors may also identify questions that are not obvious from plan sheets alone. Invite those questions before pricing closes, when clarifications can still affect scope and sequence.
The result should be a better-qualified bid, not an inflated promise of certainty. Make exclusions visible, attach relevant maps or snapshots, and preserve the date of the source data. This gives the project team a defensible basis for discussing allowances and contingencies.
Integrate drone analysis into construction workflows
Preconstruction data should not disappear once the contract is awarded. If the files are named consistently and tied to project coordinates, later teams can use them as a baseline for progress reviews, field questions, and closeout records. Integration is mainly a process discipline: agree on formats, ownership, timing, and access.
Connect imagery with CAD, BIM, and GIS platforms
Export only the products the receiving platform can use reliably, and confirm coordinate systems before overlays are published. An orthomosaic, point cloud, surface, or model may serve different purposes in CAD, BIM, or GIS. The team should know whether an item is for visual reference, measurement, coordination, or formal design use.
Test a small exchange before distributing a full dataset. Check scale, orientation, units, metadata, and layer naming. This catches translation problems early and avoids asking field staff to interpret a technically correct file that opens in the wrong place.
Share findings with owners, designers, and contractors
Different audiences need different views of the same evidence. An owner may want a concise risk summary, a designer may need an overlay, and a superintendent may need a marked-up access view. Share the relevant interpretation along with the source date and limitations instead of sending a large folder without explanation.
A short review meeting can resolve more than an email attachment. Ask what changed, what remains uncertain, and who will act next. That conversation turns imagery into coordination rather than passive documentation.
Establish repeatable progress-monitoring standards
If the project will repeat flights, fix the cadence, coverage boundary, camera orientation where practical, naming convention, and review responsibilities. Consistency makes differences easier to interpret and reduces arguments caused by changing viewpoints. The standard should also define when weather or site conditions require a supplemental capture.
Progress monitoring works best when each issue has a location, date, responsible party, and expected response. A shared process is more useful than simply accumulating weekly images. It also helps remote stakeholders understand what has changed without relying on subjective descriptions.
Track changes from preconstruction through closeout
Keep the baseline, design references, progress captures, field notes, and final records connected by date and location. Over time, the sequence can show changes in access, earthwork, structures, materials, and temporary conditions. Selective comparisons are usually more useful than presenting every available image.
At closeout, archive the approved outputs and explain what they document. Aerial records can support future maintenance or facility discussions, but only when the project preserves the context needed to interpret them.
Manage accuracy, compliance, and project limitations
Drone data is powerful because it covers space quickly, not because it removes uncertainty. Every output has conditions under which it is reliable and conditions under which it is not. A careful team states those boundaries before someone treats a planning model as a legal survey or construction control document.
Understand when drone data needs survey validation
Survey validation is appropriate when the result will control staking, establish legal boundaries, support final quantities, verify critical elevations, or resolve a high-consequence discrepancy. The required level of validation depends on the contract, jurisdiction, design stage, and intended use. Ask the project surveyor to define the appropriate checks rather than assuming that a dense model is automatically accurate.
Use independent checkpoints and document the comparison. If the dataset is suitable for visual planning but not for construction layout, label it that way in the file and in meetings. Honest classification protects both the project and the people making decisions from it.
Protect privacy, security, and sensitive site information
Plan how imagery will be stored, shared, retained, and deleted. Faces, license plates, neighboring properties, security equipment, and sensitive infrastructure may appear incidentally. Access controls and clear distribution rules reduce unnecessary exposure, especially when files are uploaded to shared platforms.
Limit public use of project imagery unless the owner and relevant parties have approved it. Include the capture date and responsible organization in internal records, but avoid placing sensitive operational details in broadly distributed visuals.
Address obstructions, shadows, and incomplete coverage
Trees, buildings, stockpiles, reflective surfaces, dust, low light, and moving equipment can create gaps or artifacts. A model may interpolate across a missing area and look complete at first glance. Review the source images and coverage map before relying on a smooth surface.
When a gap matters, schedule another capture, gather ground evidence, or mark the area as unknown. The correct response depends on the decision and the cost of uncertainty. Never fill an evidentiary gap with an unmarked assumption.
Document assumptions and communicate data limitations
Every deliverable should state its date, coordinate reference, intended use, coverage, processing method, known exclusions, and validation status. Keep a short assumptions log beside the files. This gives reviewers a quick way to understand what the dataset can and cannot support.
A practical handoff ends with a decision record: what the team learned, what it changed, what still needs investigation, and who owns the next step. That is the difference between storing imagery and using it responsibly.
Conclusion
Preconstruction site analysis with drone imagery works best as a disciplined decision process: define the questions, capture the right evidence, verify the outputs, and carry the findings into design and construction workflows. When teams document assumptions and respect the limits of aerial data, the result is a clearer starting point for safer planning, better coordination, and fewer surprises.
Frequently Asked Questions
What is preconstruction site analysis with drone imagery?
It is the use of aerial photographs and processed spatial data to understand existing site conditions before construction, including terrain, access, drainage, visible infrastructure, boundaries, and potential constraints.
What can drone imagery reveal before construction starts?
It can reveal surface features such as slopes, low areas, stockpiles, vegetation, access routes, exposed structures, and nearby conditions that may affect layout, logistics, grading, or risk planning.
Is drone imagery the same as a land survey?
No. Drone imagery and derived models may support planning and measurement, but a licensed surveyor may be required for boundaries, construction control, legal elevations, or other decisions with defined survey standards.
How accurate is a drone-derived site model?
Accuracy varies with equipment, flight design, image quality, ground control, terrain, processing, and verification. The project should define a required tolerance and confirm it with appropriate checkpoints.
How often should a site be captured before construction?
At minimum, capture a baseline before site conditions change. Additional flights may be useful after major weather events, property changes, demolition, clearing, or revisions to the design and access plan.
What weather conditions can affect drone data?
Wind, rain, fog, low light, strong shadows, dust, and changing cloud cover can affect flight safety and image consistency. Operators should set practical conditions for postponing or repeating a mission.
How should drone data be shared with a project team?
Share the specific map, model, or report needed for the decision, along with its date, coordinate information, intended use, and limitations. Keep raw imagery and processing records available for controlled review.