Aerial progress photos for construction lender draw requests
Key Takeaways
A lender-ready photo record is planned around the work, the draw calendar, and the evidence needed to verify completed construction.
- Establish a dated baseline before work begins.
- Schedule flights around draw submissions and major milestones.
- Use repeatable viewpoints so changes are easy to compare.
- Pair aerial images with invoices, notes, and inspection records.
- Preserve original files and document permissions, safety steps, and handoffs.
Understand what lenders need from aerial progress photos
A construction lender is not simply looking for attractive overhead images. The photos should help connect money requested to work visible on the property, while giving reviewers enough context to understand what changed since the previous draw. A well-planned record makes that review clearer without pretending that photographs replace formal inspections or supporting documents.
How draw requests rely on verified construction progress
A draw request typically describes completed work, associated costs, and the amount being requested. Visual evidence gives the lender another way to assess whether the claimed stage of construction appears to exist in the field. The strongest package makes the connection easy to follow: the image date, location, visible work, and corresponding budget category should all point in the same direction.
That does not mean an aerial image can prove every installation or hidden condition. It can, however, provide useful context for site access, building footprint, exterior work, staging, and overall advancement. The goal is clear, traceable evidence, not a collection of disconnected snapshots.
Which project milestones should be documented
Choose milestones before the first flight rather than deciding afterward what might be useful. Site preparation, excavation, foundation work, framing, enclosure, roofing, exterior finishes, and substantial completion are common points to record, but the schedule should follow the project’s actual scope and draw categories.
A baseline before construction is especially valuable. It establishes existing conditions, access routes, neighboring features, and drainage or material conditions that later images can be compared against. A final set should likewise show the completed exterior context and any remaining visible work.
What lenders look for in visual evidence
Reviewers generally need images that are dated, understandable, and broad enough to establish where the work sits within the property. A single close-up may show a detail, but it rarely explains whether the broader phase is complete. Include views that orient the reader, then add closer images where they clarify a specific milestone.
Consistency matters as much as resolution. Similar angles, altitudes, and camera directions let a reviewer compare two draw periods without mentally reconstructing the site each time. Captions should state what is visible and avoid claiming completion when the image only shows partial progress.
How aerial photos complement invoices and inspection reports
Photographs work best as one layer in a draw package. Invoices can support the cost claim, schedules can establish expected timing, and inspection reports can address conditions that an image cannot verify. Aerial views add geographic context and help reviewers understand how individual work areas relate to the whole property.
For a broader explanation of planning, capture, and processing, see this guide to aerial progress documentation. The useful principle is simple: each source should answer a different question while remaining consistent with the others.
Plan an aerial photography schedule around the build
A reliable schedule begins with the lender’s review rhythm and the contractor’s actual sequence of work. Flying at random intervals can leave gaps just when an important draw is submitted, while flying too often can create a large archive with little difference between visits. A practical program balances those concerns and leaves room for weather, access, and site safety.
Establish a baseline before construction begins
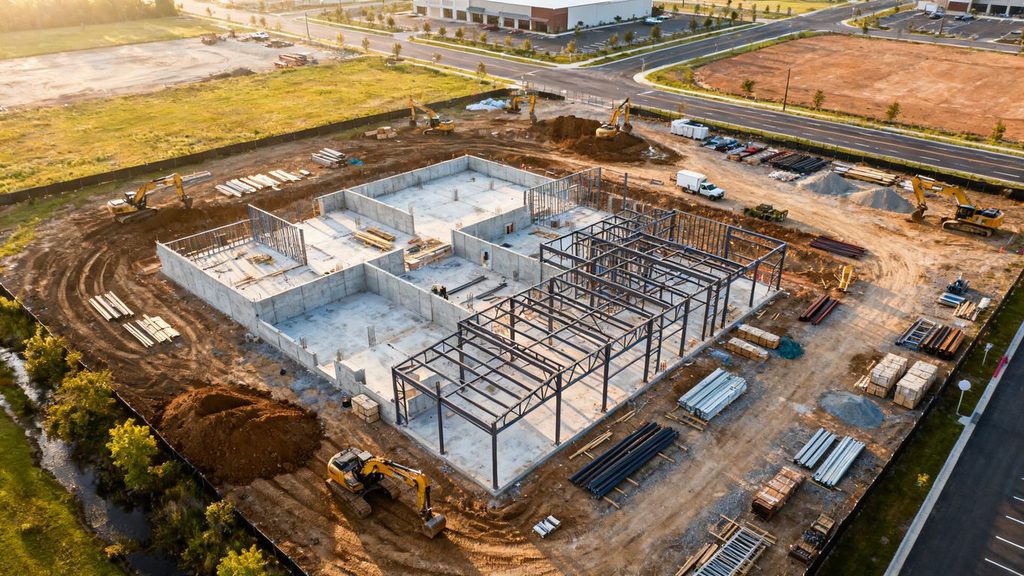
The baseline should document the property before construction changes the scene. Capture the full parcel, public access points, neighboring structures, existing vegetation, visible drainage features, and any conditions that could later become disputed. Ground photos can add detail where an overhead view does not show surface condition clearly.
Record the flight date, approximate viewpoint, and project phase with the original files. If the site has already changed, note that limitation rather than presenting a later visit as a true pre-construction baseline.
Match flights to the construction draw schedule
Start with the expected draw dates and work backward. Allow enough time for the flight, processing, internal review, and any corrections before the package must be submitted. When a draw depends on several trades, a visit near the reporting cutoff can provide a more useful snapshot than a routine visit that happens too early.
The schedule may be recurring or draw-triggered. Skyland Pixels describes both scheduled progress visits and documentation timed to a draw submission, with dated, geo-tagged records packaged for lender review. That model illustrates why the capture date should be treated as part of the reporting workflow, not as an afterthought.
Capture progress after major milestones
Plan additional visits shortly after meaningful changes become visible. Foundation placement, structural framing, building enclosure, major paving, and substantial exterior completion each alter what a lender can see from above. If a milestone is hidden by later work, document it while it remains visible and retain those images in the project archive.
A milestone does not have to mean the entire phase is complete. Captions can distinguish between started, substantially complete, installed in part, and complete. That precision protects the usefulness of the record when the draw covers several work items at different stages.
Adjust the schedule for weather and site conditions
Weather can affect both flight safety and the quality of the record. Wind, rain, snow, standing water, glare, and low cloud can obscure work or make a flight inappropriate. Coordinate with the superintendent so the aircraft is not operating during crane movements, concrete placement, or other activities that create unnecessary risk.
Build a contingency window into the calendar. If conditions force a delay, document the reason and preserve the intended reporting period in the notes. A short, transparent explanation is more useful than an image set whose timing is unclear.
Capture photos that clearly show project progress
Good aerial documentation is deliberate photography rather than an automatic sweep of the property. The pilot needs to think about orientation, scale, shadows, obstructions, and the question each image is meant to answer. A small set of purposeful views is usually easier to review than hundreds of nearly identical frames.
Choose flight paths and camera angles for site visibility
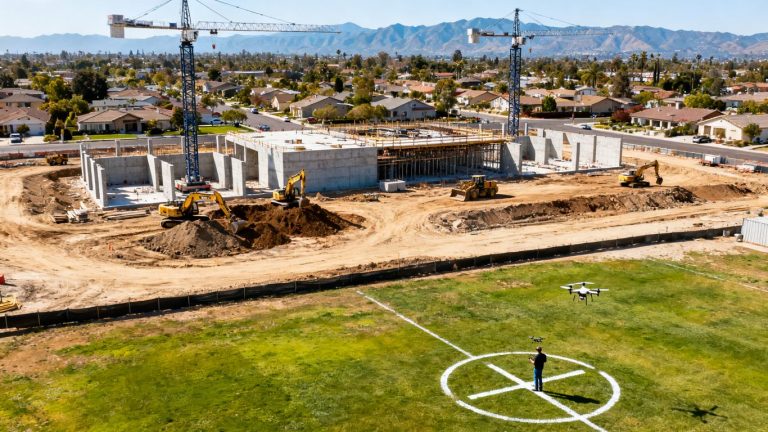
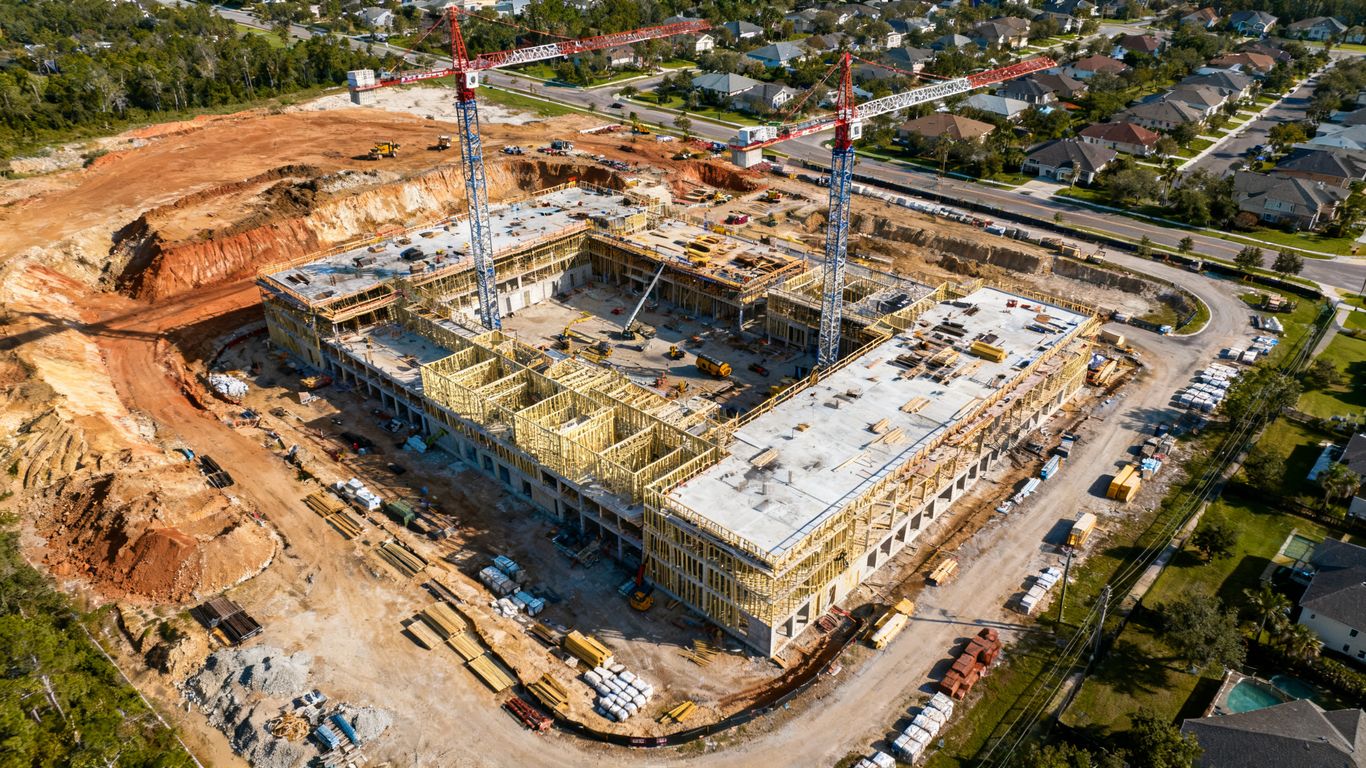
Begin with an orbit or series of oblique views that reveal the relationship between the building, access roads, laydown areas, and neighboring features. Add higher overhead views when the roofline, site boundaries, grading, or overall footprint matters. Oblique angles often provide better depth for framing and exterior work, while straight-down images can clarify layout.
Avoid allowing the sun, crane boom, tree canopy, or temporary structure to hide the work. If an obstruction cannot be avoided, note it and supplement the aerial set with a ground-level image or another angle.
Photograph the full property and key work areas
Every visit should include orientation images before moving into detail. The full-property views establish context; closer views then show the work areas that matter for the current draw. Keep the project boundary and major reference features visible whenever possible, especially on larger sites where a close crop could be difficult to locate.
A practical capture sequence might move from the full parcel to the building footprint, then to active work zones, material staging, access, and visible site conditions. This gives the reviewer a narrative path through the property instead of a random gallery.
Use consistent altitude, orientation, and viewpoints
Repeatability turns separate visits into a comparison record. Save the planned viewpoints or a simple shot map, then reproduce the same general altitude, direction, and framing whenever site conditions allow. Exact duplication is not always possible, but a consistent approach makes differences easier to see.
Use the same naming logic for each recurring view. For example, a north-facing building view can retain its label even when the structure grows larger in the frame. The label should describe the viewpoint, not imply that the work visible in it is complete.
Include ground-level images when aerial views lack detail
Aerial photos are limited by distance, roof geometry, shadows, and the resolution needed to inspect small components. Ground images can clarify wall finishes, openings, installed equipment, protected materials, or interior conditions that cannot be seen from above. They should supplement the aerial record rather than replace its site-wide context.
Keep the same discipline on the ground: identify the location, date the image, and avoid photographing unsafe areas. If a detail cannot be safely reached, state that limitation instead of asking someone to enter an active hazard zone.
Document the construction details lenders evaluate
The most useful set reflects the way construction is actually paid for and inspected. Lenders may need to understand both visible progress and the condition of the site around it, including materials, equipment, access, and unfinished areas. Organize the capture so that a reviewer can move from broad status to relevant detail without guessing.
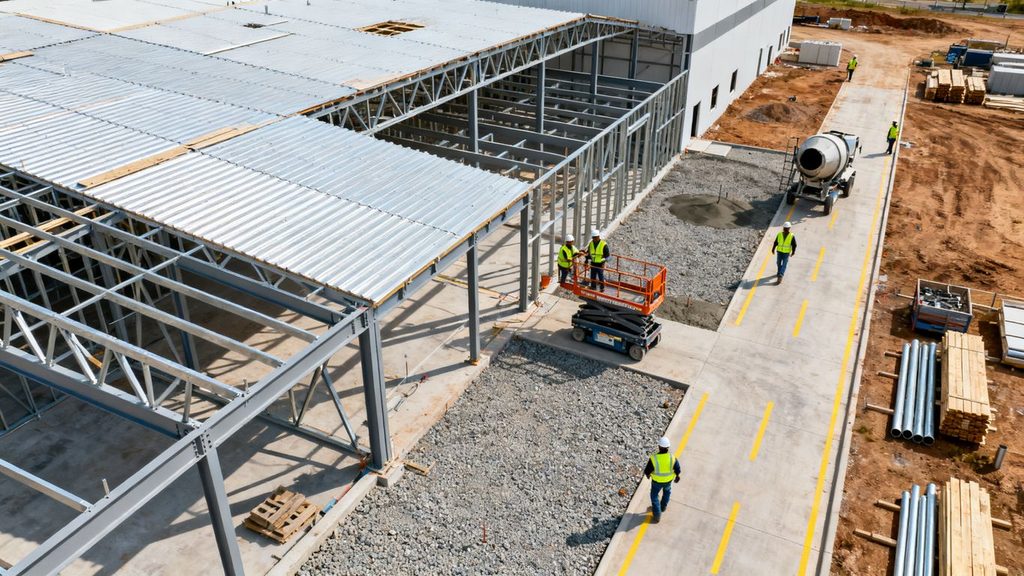
Show sitework, foundations, and structural framing
Early work can disappear quickly under later phases, so document excavation, utilities where visible, footings, foundation walls, slabs, grading, and structural framing at appropriate intervals. Overhead images can clarify the footprint and site layout, while oblique views help show elevation and the relationship between framing and surrounding work.
Do not infer hidden completion from a covered surface. If a foundation area is partly obscured or framing is incomplete, describe what the image actually shows and connect it to the relevant inspection or field note.
Capture roofing, exterior finishes, and installed systems
Once the building is enclosed, capture roof coverage, exterior cladding, windows, doors, paving, curbs, and visible site systems. Angled images can reveal façade progress that a straight-down view misses, while elevated views can show roof areas and equipment placement. Include unfinished elevations when they explain why a line item remains open.
Aerial data can also add context to drainage, access, and material staging, but it should not be treated as a substitute for specialist testing or close inspection. The image’s role is to document visible conditions and support a broader review.
Photograph interior progress safely and accurately
Interior progress requires a separate plan because an aircraft cannot provide dependable detail inside a structure. Use authorized ground photography for framing, rough-ins, insulation, drywall, finishes, and installed equipment when those areas are relevant to the draw. Identify the floor, room, or zone so the image can be matched to plans and budget categories.
Safety comes first. Do not enter an incomplete building without site authorization, required protective equipment, and a clear route. If access is unavailable, record that fact and rely on the appropriate inspection or contractor documentation for conditions that cannot be photographed safely.
Record materials, equipment, and site conditions
Materials and equipment can explain both progress and constraints. Photograph significant deliveries, stored materials, cranes, lifts, temporary access, stockpiles, erosion controls, and areas awaiting work when they affect interpretation of the draw. Keep the framing wide enough to show where items are located and whether they appear installed, stored, or awaiting use.
The detail should remain factual. A stack of materials is not the same as installed work, and equipment on site is not proof that its related scope is complete. Clear captions preserve that distinction.
Organize aerial documentation for each draw request
A clear archive reduces the time spent searching for evidence and lowers the risk of attaching the wrong image to the wrong draw. Organize files as though someone unfamiliar with the project will review them months later. The structure should survive staff changes, revised schedules, and repeated submissions.
Create a consistent file naming and folder structure
Use a predictable hierarchy such as project, reporting period, capture date, and phase. File names can include the date, project identifier, viewpoint, and sequence number, provided the format remains short enough to use consistently. Keep original captures separate from edited exports and report-ready selections.
Avoid replacing originals with cropped or color-adjusted versions. Edited files may be useful for presentation, but the source record should remain available if a question arises about what was captured.
Add dates, locations, and milestone descriptions
Each image set should carry enough metadata to establish when and where it was made. Add the capture date, project address or site identifier, approximate viewpoint, phase, and a concise description of visible work. If the image is part of a repeatable route, include the viewpoint label used on earlier visits.
Descriptions should be specific without overstating certainty. “South elevation, window installation visible” is more defensible than “south elevation complete” when other exterior work remains.
Pair images with the relevant budget line items
Map the photo set to the draw schedule or cost breakdown. A simple cross-reference can identify which images support sitework, concrete, framing, roofing, finishes, or other categories. This does not assign a value to the image; it helps the reviewer locate visual support for the claim being made.
A compact mapping table can make that relationship easier to scan. Adapt the categories to the project rather than forcing every job into the same template.
| Draw area | Useful visual evidence | Helpful companion record |
| Sitework and grading | Overall site, access, drainage, and visible earthwork | Progress notes or quantity records |
| Foundation and structure | Footings, walls, slabs, and framing views | Inspection records and invoices |
| Enclosure and exterior | Roofing, windows, cladding, and elevations | Trade invoices and schedule update |
| Materials and equipment | Delivery, storage, and location context | Purchase records or delivery tickets |
The table is a starting point, not a substitute for project-specific judgment. Before submission, confirm that every selected image actually supports the description attached to it and that incomplete areas are not accidentally omitted.
Build a draw-ready photo report
A useful report usually opens with the project identifier, capture period, and a short narrative of changes since the last visit. Follow with an orientation page, milestone sections, captions, and a cross-reference to the draw categories. Include limitations, weather delays, inaccessible areas, and any discrepancies that a reviewer should understand.
If the report is sent through a contractor or directly to a lender, preserve the same package and handoff date in the project record. Henry David Photography describes scheduled progress photography with established vantage points, detail shots, and aerial coverage; that combination is a helpful model for thinking about completeness without treating one image type as sufficient on its own.
Meet legal, safety, and privacy requirements
Documentation is only useful if it is collected lawfully and without creating unnecessary risk. A flight plan should account for the aircraft, the people on the ground, nearby properties, airspace, and the project’s own safety procedures. Requirements vary by location and operation, so confirm them before scheduling the visit.
Verify drone pilot certification and insurance
Confirm that the pilot is qualified for the planned operation and that insurance coverage is appropriate for the site and client requirements. Keep copies of relevant credentials, insurance information, and written scope in the project file. If the project requires a particular certification, waiver, or operating procedure, resolve that before the aircraft arrives.
The contractor and pilot should also agree on who controls site access and who can pause the flight. Clear responsibility prevents rushed decisions when conditions change.
Check airspace restrictions and local permissions
Review applicable airspace restrictions, temporary flight limitations, property access rules, and local requirements. Permission from a property representative does not automatically resolve airspace or privacy concerns. Record the checks performed, the approvals received, and any restrictions that shaped the flight plan.
If the operation cannot be conducted safely or within the applicable rules, postpone it. A missing photo is easier to explain than an avoidable safety or compliance incident.
Protect workers, neighbors, and occupied properties
Coordinate with the superintendent so workers know when the aircraft will operate and where it may travel. Maintain appropriate separation, avoid hovering over people, and keep the flight path away from occupied neighboring areas whenever possible. Frame images to limit unnecessary views into homes, yards, or private spaces.
Do not use construction documentation as a reason to expose personal information. Blur or omit sensitive details in report-ready copies when they are not relevant to the draw, while retaining the original record under controlled access when necessary.
Preserve original files and maintain an audit trail
Keep original captures, flight notes, processing history, permissions, and delivery records together. Record who selected images, who edited or exported them, when the report was sent, and whether a later revision replaced an earlier version. A simple change log can preserve confidence in the record.
The audit trail is particularly useful when a lender asks why an image differs from a prior submission. It lets the team explain whether the difference came from a new visit, a crop, a corrected caption, or a genuinely changed site condition.
Improve the reliability and value of lender photo reports
A report becomes more valuable when it supports comparison, not just storage. Reviewers should be able to see what changed, where it changed, and whether that change aligns with the current draw. That requires a repeatable capture method and an honest editorial process.
Use repeatable reference points for visual comparisons
Choose fixed reference points such as property corners, building elevations, access roads, and major site features. Save the route and viewpoint descriptions so later visits can reproduce the same visual relationships. When construction blocks an old viewpoint, choose the nearest safe alternative and explain the change.
Side-by-side comparisons are most persuasive when they preserve scale and direction. They should show progress without making ordinary perspective differences look like construction changes.
Flag delays, discrepancies, and incomplete work
A lender report should not conceal conditions that complicate the draw. Note visible delays, incomplete areas, changed access, material shortages, damaged work, or differences between the schedule and the site. Use neutral language and identify what requires confirmation by the contractor, inspector, architect, or lender.
SkyGator frames drone documentation around verifiable, timestamped evidence for lender inspections. That description fits the broader reporting principle here: the image record should help a reviewer investigate uncertainty, not simply support a favorable impression.
Combine aerial imagery with maps and progress notes
Maps can provide orientation on a large property, while progress notes explain sequence and conditions that a photograph cannot show. Where appropriate, an orthomosaic or 3D model may supplement the still-image set, but only if the output is accurate, clearly dated, and relevant to the review. Keep the primary report readable for someone who needs a quick status check.
A concise narrative can connect the pieces: what changed, what remains, what was delayed, and which documents support the stated progress. The result should feel like one coherent record rather than several unrelated exports.
Review the report before submitting the draw request
Perform a final review against the draw schedule, invoices, inspection material, and previous report. Check that dates are correct, captions match the images, file links open, and no page has been carried forward with obsolete language. Confirm that the report includes both completed work and material limitations.
A short pre-submission check can catch common problems:
- Confirm the reporting period and project identifier.
- Verify that each major draw category has relevant visual support.
- Compare repeat viewpoints with the prior visit.
- Remove duplicates and label edited images clearly.
- Preserve the final package and delivery record.
Once those checks are complete, the photo report can accompany the draw request as organized evidence rather than as an unfiltered camera dump.
Conclusion
Aerial progress photos for construction lender draw requests are most effective when they are treated as part of a repeatable documentation system: establish the baseline, schedule visits around the work and draw calendar, capture consistent views, connect images to budget categories, and preserve a transparent record. Used alongside invoices, notes, and inspections, the resulting package gives lenders a clearer way to understand visible progress while keeping the limits of photography in view.
Frequently Asked Questions
How often should construction progress photos be taken?
The right frequency depends on the draw schedule, project pace, lender expectations, and how quickly important work becomes hidden. Recurring visits may suit active projects, while draw-triggered visits can work when milestones are spaced farther apart.
What should a baseline construction photo set include?
It should show the property, access, neighboring context, existing structures or features, visible drainage, and any conditions that could later be questioned. Record the date and viewpoint so later images can be compared fairly.
Can aerial photos replace a lender inspection?
Usually, photographs should be treated as supporting evidence rather than a replacement for an inspection, certification, or other lender requirement. They cannot reliably verify every hidden installation, cost, or workmanship condition.
What makes a progress photo useful to a lender?
A useful image is dated, clearly located, properly framed, and connected to a stated milestone or budget category. It should show enough context to explain where the work is and enough detail to clarify what has changed.
Should ground photos be included with aerial images?
Yes, when ground-level detail is necessary to show interiors, finishes, equipment, or conditions that aerial views cannot resolve. Ground photos should follow the same rules for dates, locations, captions, safety, and privacy.
How should photo files be named for draw documentation?
Use a consistent format that identifies the project, capture date, reporting period, viewpoint, and sequence. Keep original files separate from edited report copies, and retain the naming convention throughout the project.
What should happen if weather delays a scheduled flight?
Record the delay, reschedule within the reporting window when safe, and explain any resulting gap in the report. Never proceed in conditions that create unreasonable risk simply to preserve a planned date.